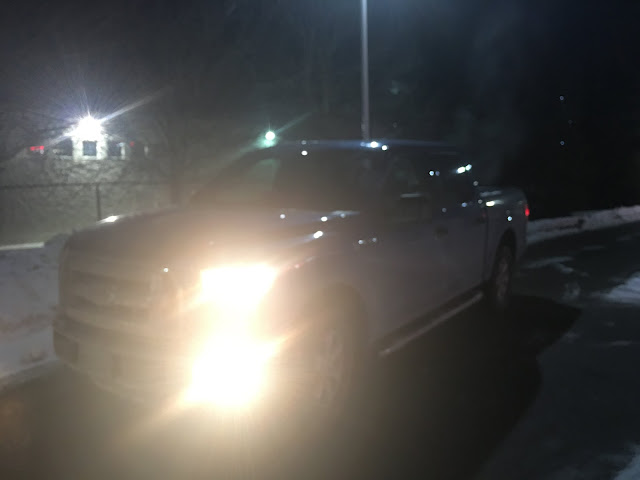
One of the strangest things I found about my homeboy is that the driver-side rear seat, although releasable does not come with any way to easily release it.
Because I'm apparently an engineer at heart, I found a solution! An american company, BuiltRight Industries makes (in the USA) their F-Series Rear Seat Release kit. It comes in Black (what I got), Tan, Red, Blue, and Olive.
Made in the USA means no border duties! NAFTA!
I chose Black to match the child seat straps behind the headrest for an OEM look.
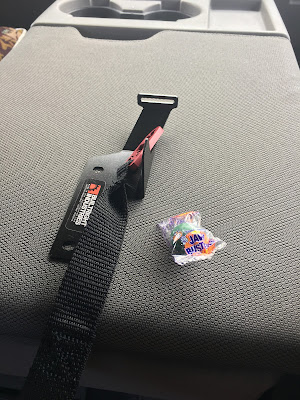
The kit comes in a beautiful box, with the bracket, release strap, a jawbreaker and sticker.
You will need the first 3 for the install along with a T30 Torx driver.
Be sure to attach the T30 to your favourite rotating implement for effective rotating.
Remember that there's no need to overtorque these...
Jokes and tips aside, raise the bottom seat cushion to the upright position to reveal Ford's Load Flat Floor! Now look over the backrest.
Locate the release pin (The lighter silver pin)
Using the release strap, attach to and pull the pin upwards, you should feel it "slip"
Release the seat bottom from it's upright position, the backrest should come with it
Yes the seat belt will come with it. Yes you will probably find long lost junk behind it.
DO NOT DO THIS.
The bracket goes on top of the latch
Attach the release strap on the back and feed through bracket
Feed bracket through the gap in the latch assembly
Another angle of the slide in
Slide the whole thing back in, aligning the tab on the latch, and all the holes
Leave a little bit of space between the release strap and the bracket
If you're not advertising for Matt, you probably didn't install it correctly
Start the factory screws BY HAND like your parents hopefully taught you
Cross thread these bad boys and you'll be having a bad day
Torque to quarter past (accessory tightness?)
I usually just do this by feel
Test the latch operation with a pushing implement
I do not recommend using your finger unless it's expendable to you
Do this a few time to make sure it opens and closes
It should operate smoothly, adjust as needed
After you flip up the seat, this is what the finished product looks like
Of course your colour may vary depending on what you purchased
Apparently every strap is individually sewn!
Disclosure:
I purchased this product for my Little Coyote F150 at full cost with shipping to Canada.
BuiltRight Industries Matt did assist over Facebook to clarify the purchase process for Canadians.
No discount was provided, and I created this tutorial to provided some tips for what worked well for my install. Your results will vary because obviously you aren't working on my truck. Remember, if it feels like you're doing something wrong, you probably are.
I <3 cool packaging!


No comments:
Post a Comment